News

Ugandan coconut chia pudding (written June 30, 2019)

News

Ugandan coconut chia pudding (written June 30, 2019)

by Jesse Dugdale on Nov 05, 2024
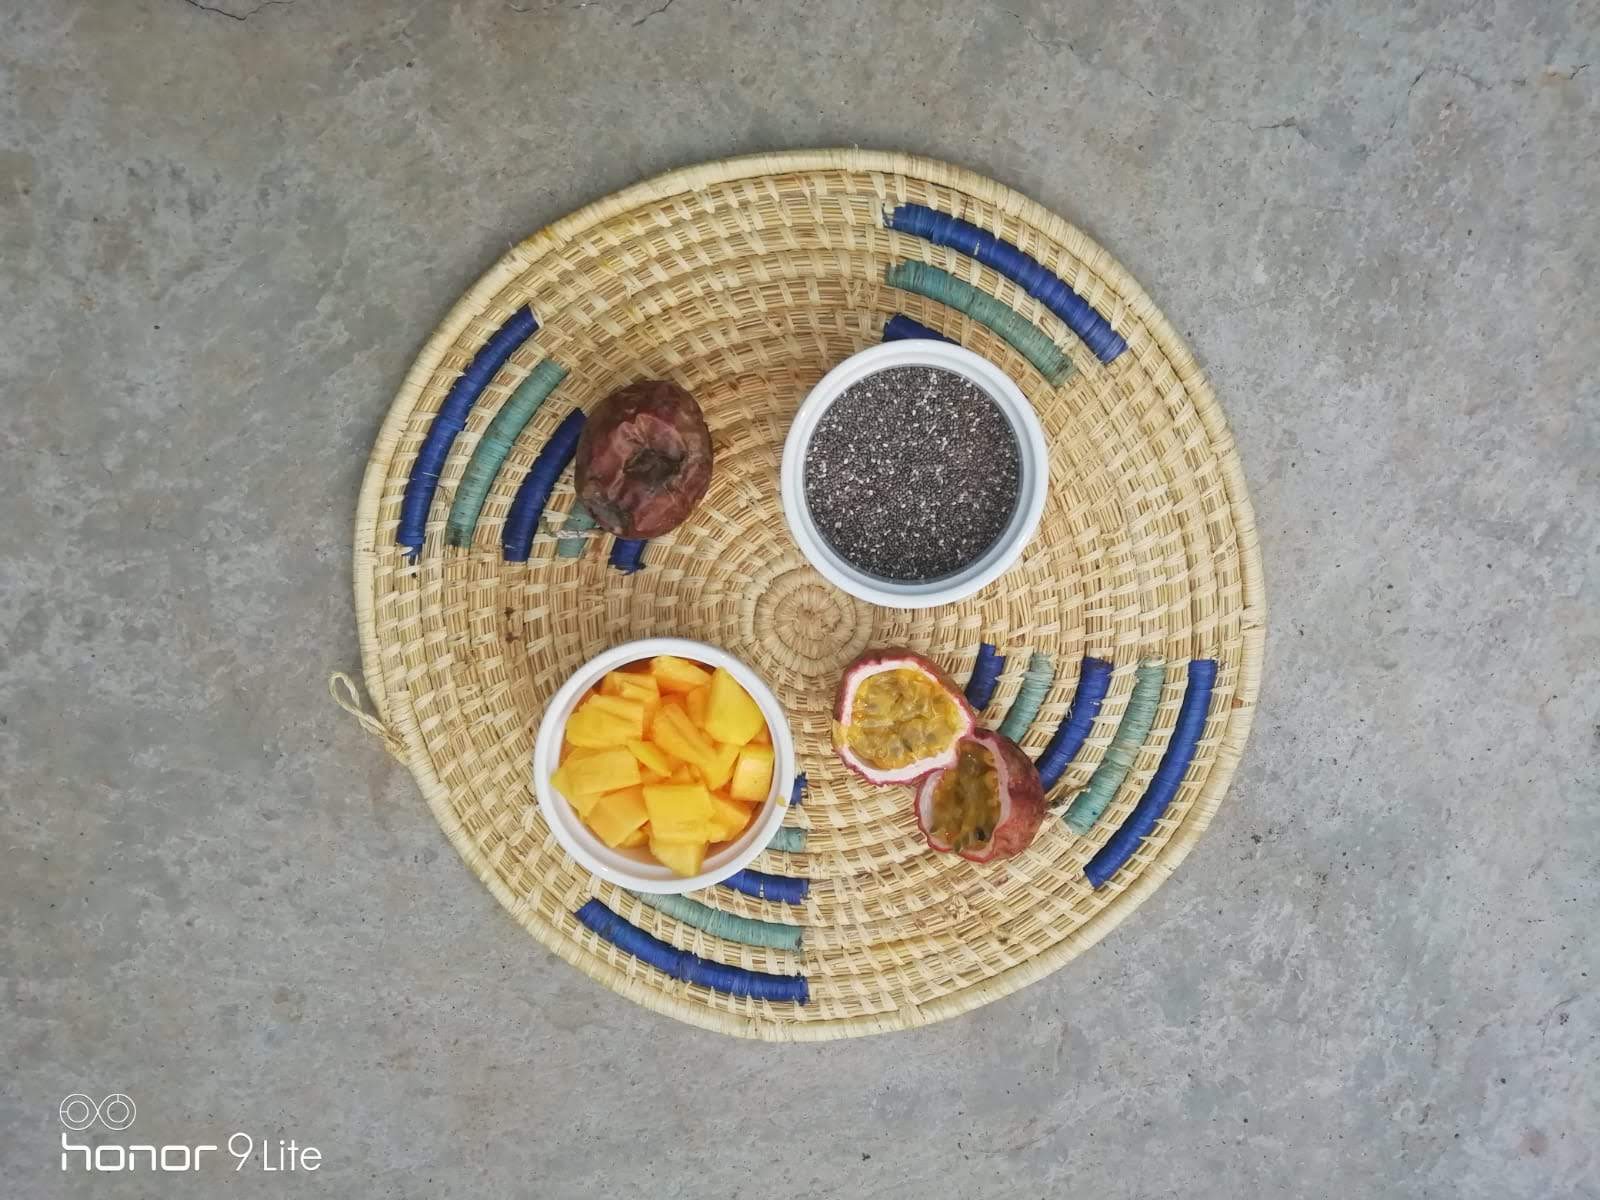
As you can tell by now, we are terrible at getting ‘Foodie Friday’ blog posts out on time – hey ho better late than never! Luckily being in Uganda means we are 2 hours ahead; whatever time I get this in, it’s 2 hours earlier than what it would have been if we were in the UK. We try to encourage seasonal and local products, so being on the equator with super rich soils, the fruit you get from Uganda is next level. It seemed only rude to not use these to our advantage! Don’t let the frog’s-spawn look discourage you – this pudding is AMAZING. Not only that, it’s cheap to make (with local fruits), easy to make with minimal effort involved, and can easily look impressive.  Out of curiosity, we decided to cost out how much our ingredients were: 2 small sweet bananas (the same size as 2/3 ‘normal’ banana) = 100 shillings (~2p) 5 passionfruit = 1000 shillings (~21p) Mango = free (from our garden!) 2 cans of Coconut milk ~10000 shillings (~£2.04) Chia = 6000 shillings (~£1.28) For 10 puddings, we spent in total ~£3.55, making each dessert cost a huge ~36p! (Obviously for the UK prices will change due to ingredients) Just a little about these ingredients…. The mango I found on the floor, underneath the mango tree in the garden! Normally monkeys or insects get them before we do so I was lucky to grab one in this case. The passionfruit and bananas are sourced from the local market, 5 minutes away, and all grown locally. We do sometimes get bananas in our garden, but not at the moment. Chia seeds are readily available in Uganda – and YES that does make them pretty cheap! (for once). For all you chia lovers, you’d hate to know that you can buy them a kilo at a time in the supermarkets if you want AND they’re organic. The final ingredient is coconut milk - one of my all-time favourite cupboard staples. Being so versatile, you can use it in both savoury and sweet dishes; I use it all the time in curries, sauces, soups, desserts, vegan ice cream etc. This pudding is Gluten Free, Vegan, No Added Sugar and Paleo I did not need to add in any sugar in this case as the fruit seems to be ‘sweet on steroids’ in Uganda. If you fancy it sweeter, you can add in date syrup, maple syrup, agave nectar, honey derivatives, honey (non-vegans), etc to your taste. Prep time: 5-10 minutes Chill time: 4 hours/overnight Serves: 10 Ingredients 2 cans coconut milk 125g chia seeds (for a more solid mixture add more) 1/2 mango 2 sweet small bananas (3/4 ‘normal’ banana) 5 passionfruit Method 1. Combine the coconut milk and chia seeds in a bowl and mix well. 2. I added in 3 passionfruit and a small amount of chopped mango, mix well to combine with the coconut-chia mix. (Give the mixture a taste, and if you want to add in some sweetness, now is the time to do it!) 3. Pour into small glasses / ramekins / jars 4. Put into the fridge and leave for a minimum of 4 hours 5. Chop up the remaining fruit and arrange on top as to your liking Other tasty combinations - Toasted coconut flakes, cacao nibs and date syrup - Cinnamon, apple (or apple coated with cinnamon and brown sugar), raisin - Passionfruit, fresh orange juice and zest - Summer fruits - Fruit and nut mix Enjoy! Love, Lemon & Jinja X
Chocolate-y hazelnutty goodness (written June 3, 2019)

News

Chocolate-y hazelnutty goodness (written June 3, 2019)

by Jesse Dugdale on Nov 05, 2024
Because of the recent obsession with our chocolate hazelnut spread, we’ve decided to dedicate last week’s (very late), Foodie Friday to the glorious-ness that it is - sorry its late! If you’re very lucky, you’ve come in on the days where we’ve had a taster hanging around! If you’ve also been lucky enough to recently try the Little Bee Bakery Chocolate and Hazelnut Vegan and Gluten Free cake, that rich chocolate spread they use is ours (If you haven’t tried the cake yet, it’s AMAZING)! So why is our chocolate spread so great? It’s just 67.5% Hazelnuts, and 32.5% Lemon & Jinja Vegan Chocolate Buttons!!......Yes you’ve heard us correctly – it’s VEGAN! [For you non-Vegans, don’t let that put you off – the buttons just give it a richer taste.] Hazelnuts taste awesome, especially when roasted Vitamin E – hazelnuts have the second highest content (behind almonds) of vit E, which, as many of you might know, is great for anti-aging. Rich in Q-10 – a coenzyme and antioxidant present in hazelnuts, which is great for cell health Lower cholesterol level – hazelnuts have a high percentage of mono-saturated fats (aka. good fats) which burn cholesterol Vitamin B6 – hazelnuts have a fairly high amount of B6, which helps towards mental and bodily functions No palm oil! - sustainable or unsustainable, palm oil is added as a cheap filler and preservative. It can also quicken the production process as it helps smooth the mixture quicker. We know we wouldn't eat it with added oil, so why should we sell that to you? No other added oils, such as coconut - the same as before, we wouldn't want added oil in the spreads we eat! No added sugar, colourings or additives - the spread is so tasty that it doesn't last long enough to need a preservative! ....Yes, we do realise that the Lemon & Jinja Vegan Chocolate Buttons still have sugar in them.... we’re not denying it! We’re just saying that our spread is healthier for you than your average shop alternatives that add in other ingredients as fillers and preservatives. Buy what you need - you can buy as little or as much as you want! Just make sure you pre-order first. It's refillable - bring in your own container to refill - no need to buy new jars each time. Deposit scheme - buy the jar once from us, then you can come back in the next time and swap it straight out for the next one. No need to wait for refills, no need to buy another jar! [alternatively bring in your own jar] Personalise your ingredients - you have any specific requirements? Sugar added? Milk chocolate buttons? Smooth or Crunchy? More or less nuts? Let us know in advance and we will see what we can do for you. Just to compare it to a well known brand, we have picked on Nutella® (sorry Nutella®)   Some of you may or may not have seen this picture of the breakdown of Nutella®’s ingredients :....   We had a few comments following our Instagram post about the ingredients, so we've done our research and went onto Nutella®'s UK and Ireland website. There's good news and bad news...   The good news The palm oil Nutella® use is 100% certified RSPO (Roundtable on Sustainable Palm Oil - its fully sustainable and doesn't even mix or come into contact with unsustainable palm oil) The bad news The vast majority of this spread is just sugar (which is probably why it is so addictive!). In fact, 15g (around 1 tbsp) Nutella® = 8.4g sugar (according to the nutritional information on the Nutella® UK and Ireland website ) --> OVER HALF THE SERVING IS SUGAR However, Nutella® do not tell you the actual percentage of sugar or palm oil. You can't find it on the website, or on the jar! Yes, we found the percentage for each ingredient, but not sugar and palm oil. In the picture above, it shows the breakdown of the ingredients, with sugar as 55%. To help justify this huge figure, we calculated the sugar percentage from the weight provided from the Nutella® nutritional information (8.4g sugar in 15g Nutella®), resulting in a similar percentage - 56% sugar content! Last but not least... We also make almond butter and peanut butter! 100% nuts (except for a pinch of salt). AND we have more to come! Fancy cashew butter? Pistachio butter? Or anything else? Just give us a shout and we can do it (prices might change obviously)! AND for those with kids (...we know its the adults) who are addicted to Nutella®, we can make a milk chocolate spread (to order only - not vegan) to help smooth the transfer away from conventional chocolate spreads. Its been tried, tested, and successful (speak to Little Bee Bakery about this!)Ciao for now, Love, Lemon & Jinja x
Big up the butter beans (written May 10, 2019)

News

Big up the butter beans (written May 10, 2019)

by Jesse Dugdale on Nov 05, 2024
Butter beans (also known as Lima beans) are a very understated and versatile ingredient originating from Meso- and South America. Being soft and creamy, they taste great and are a fantastic alternative ingredient. They are also beneficial to your health, including being a great source of fibre, copper, iron, potassium and manganese. For example, they aid towards lowering cholesterol levels, and help stabilize blood sugar levels. (For further information about any health benefits, and the proof behind them, feel free to get in touch). Even for those sensitive to sulphates, butter beans contain a mineral that creates an enzyme crucial to the detoxification of sulphates. As it’s supposed to be getting hotter, we were initially planning on a summer recipe. However with the current cold and rain coming across, it was difficult to decide between that and a warming recipe. As we couldn’t choose, here are 2 recipes for you to decide between: Zesty butter bean, fig and quinoa salad AND Hearty butter bean mash In the recipes, we use the weight of ‘soaked, cooked and drained butter beans.’ You can use tinned butter beans, but if you have enough time, then we would recommend buying dry butter beans. To get the dried butter beans ready for the recipe, we recommend soaking the beans in cold water for 6-8 hours/overnight, then draining, before simmering the beans for an hour. They are now ready to use. Before we get to our recipes, here's a couple of other super tasty recipe ideas: 1. Try substituting chickpeas for butter beans in beetroot hummus, or smoked paprika hummus! 2. Blend cooked butter beans with herbs and mushrooms to create a herby veggie pâté :) Zesty Butter Bean, Fig and Quinoa Salad This is a taste sensation, adventurous, and the ingredients are very flexible (most can either be swapped or even taken out, depending on availability and taste). Our dry ingredients are sourced from Lemon & Jinja, while the veg and fresh herbs are sourced from our local greengrocers (Longs, Romsey). We encourage people to use seasonal veg if possible. The figs and goji berries are used to sweeten the salad up a little, but obviously can be taken out/added dependent on taste. Another benefit of this recipe is that it can be created without the use of an oven. (We’ve cooked the spring cabbage slightly, but this is not necessary). Due to the versatility of this dish, it can be used as a meal, as a side dish, or even buffet style (e.g. at a barbeque.) Serves: 2-3 people (full meal); 5-6 people (side dish) Time to make: 20-30 mins Ingredients: Salad: 350g soaked, cooked, and drained butter beans (similar to 1 can drained butter beans) 1 garlic clove, finely chopped 50g uncooked quinoa (we used red quinoa) 3-4 large leaves of spring cabbage, roughly chopped 1 med carrot, grated 1/2 sprig parsley, finely chopped 6 cherry vine tomatoes, quartered/eighth-ed 1 tbsp olive oil/rapeseed oil 2 dried figs, roughly chopped (if you fancy it) Handful of goji berries (if you fancy it) Small sprig of parsley to garnish Dressing: 3 tbsp. extra virgin olive oil ½ tbsp. white wine vinegar 2 sprigs parsley, finely chopped 1 garlic clove, crushed ½ lemon, juice Pinch of oregano Salt and pepper, to taste 1. Combine all ingredients for the dressing and leave to marinade 2. Rinse the quinoa. Boil water in a saucepan, then add the quinoa to simmer for 10 minutes. 3. Meanwhile, heat the oil on a high heat, then add the garlic and spring cabbage for a couple of minutes until slightly seared. Take off the heat. 4. Drain most of the water from the quinoa and cover for roughly 8 minutes. The quinoa should be fluffy and light, easily separable with a fork. 5. Combine all ingredients for the salad together, including the cabbage. 6. Stir in the dressing. 7. Garnish. Examples of other seasonal veg to add in or swap around: purple sprouting, cabbage, broccoli, fine green beans. Most other grains can be swapped for the quinoa; e.g. buckwheat, couscous, puy lentils, rice. Hearty Butter Bean Mash This winter warmer is not only super tasty, but also very quick to make. It makes a fantastic alternative to potato mash, and is delicious coupled with bangers (vegan/veg/meat - whatever your preference) and gravy, or stew.   We’ve added in a nutty twist of cashews to give it a crunch, which can obviously be left out if wanted.. We do love a chunky mash (as in this recipe), but to get a creamier blend, just add the mixture into a food processor/blender rather than the hand blender we used. Additionally to make it more creamy (for vegans), the cashews can be soaked beforehand for 4-6 hours/overnight to soften them up, or nut milk/dairy-free butter can be used as an alternate. For the non-vegans, butter/milk or cream can be used. Rosemary has been used in this recipe, but could be easily swapped out for parsley or thyme. Or even try smoked paprika, or curry/garam masala and cumin powder, if you’re feeling adventurous. Serves: 2 people Time to make: 15 mins   Ingredients: 350g butter beans ¼ lemon, juice (for a tangier taste, add more lemon juice) 1 sprig rosemary, roughly chopped 1 white onion, chopped 1 clove garlic, finely chopped Olive oil/rapeseed oil Salt and pepper, to taste 40 g cashews (if you fancy it) 1. Heat the oil in a frying pan on a medium heat, then add the garlic, onion and rosemary 2. If adding cashews, throw them in the pan also with about 50 ml water, then cook off the water 3. Add the butter beans and softly heat for another 4 minutes, then take off the heat 4. Add the lemon juice, and salt and pepper to taste 5. For a chunky mash: blend with a hand blender to your liking For a smooth mash: blend in a food processor/blender for at least 20 seconds, adding olive oil (or water/nut milk) gradually to your liking. 6. To finish, garnish with rosemary and crushed black pepper, and drizzle with olive oil Hope you enjoy our recipes! And we welcome any feedback :)  
The 'chuck-it-all-in-raw' salad (written May 18, 2019)

News

The 'chuck-it-all-in-raw' salad (written May 18, 2019)

by Jesse Dugdale on Nov 05, 2024
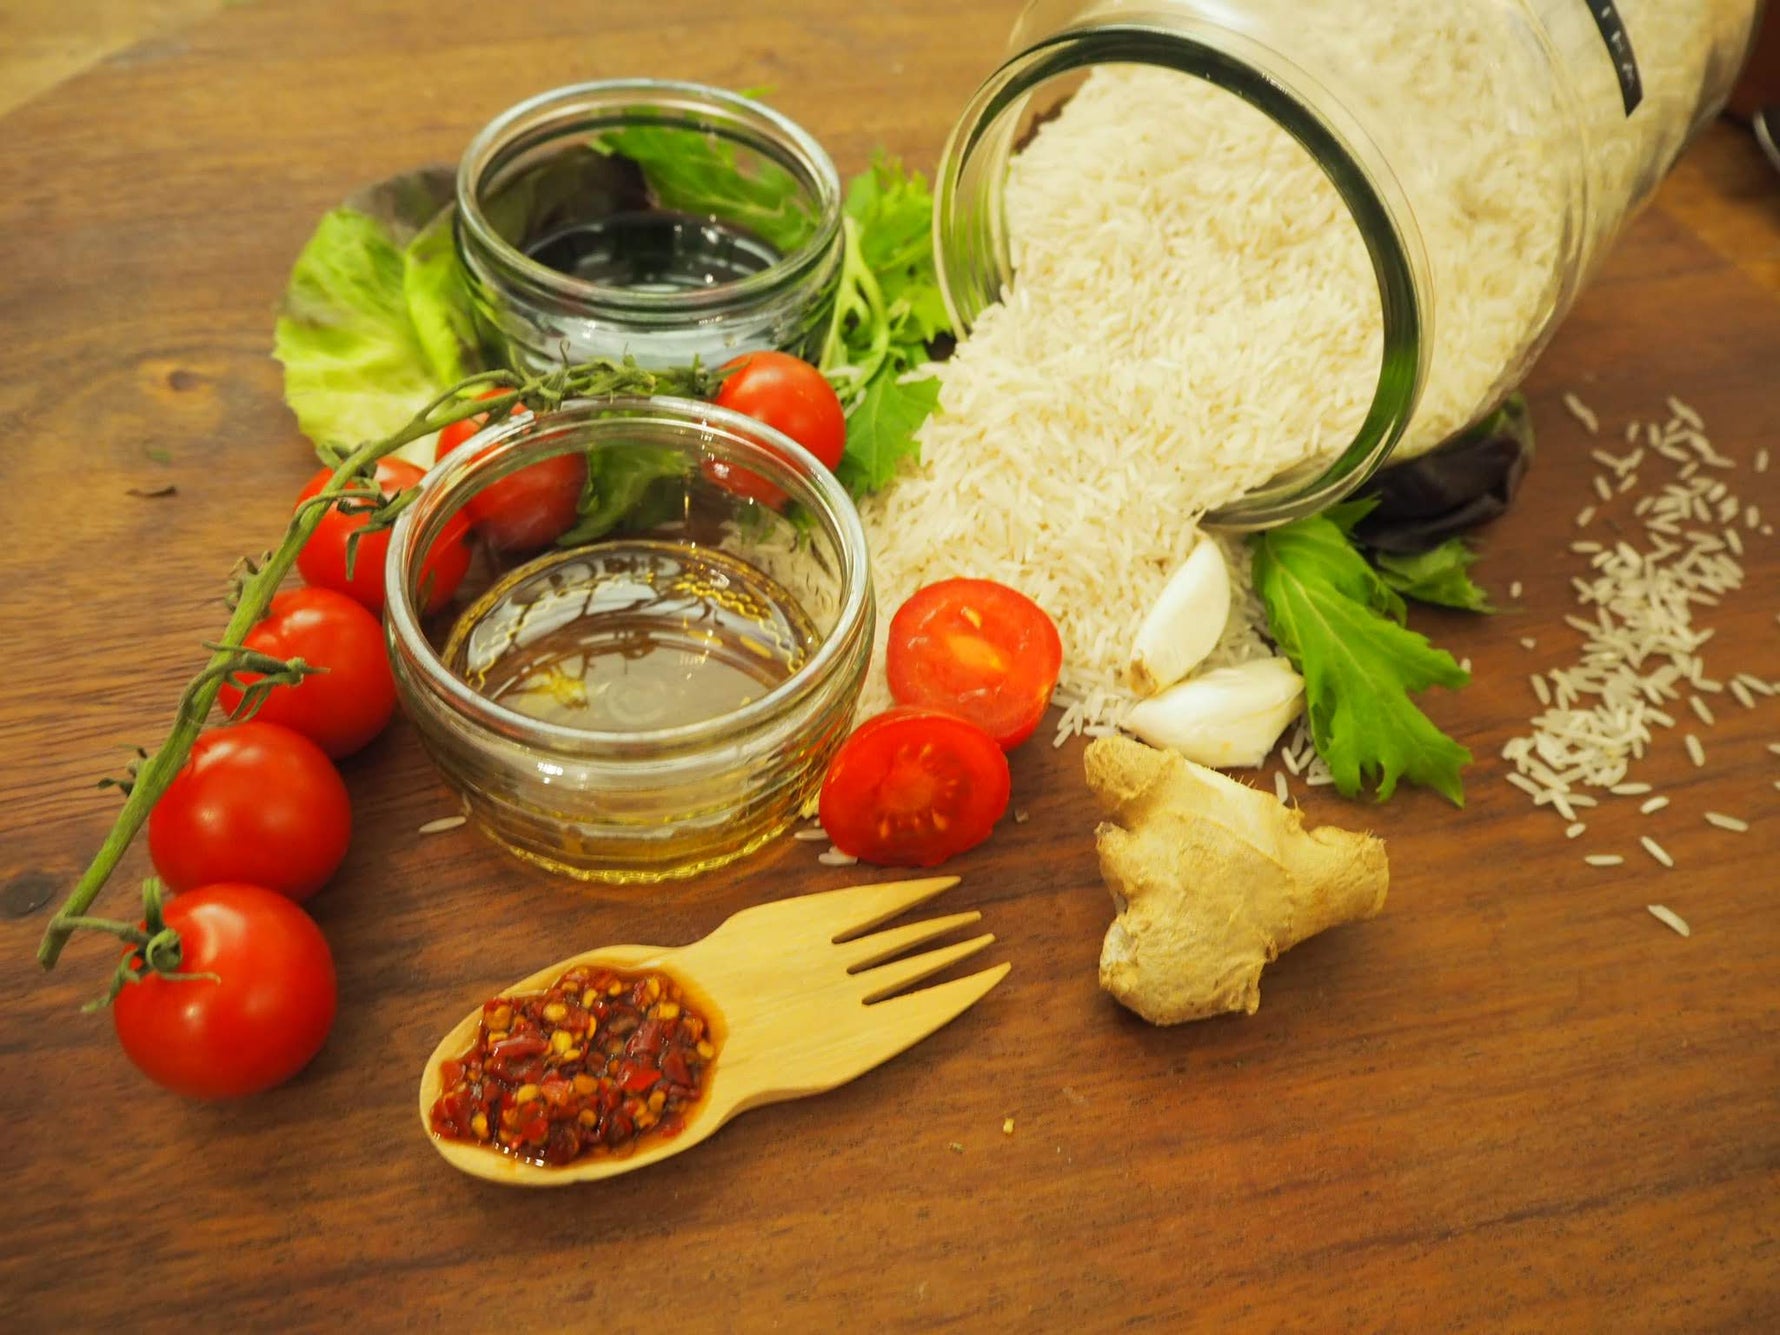
I’m a big lover of raw food, especially raw veg. Not only is it way better for you than cooking, but it also saves a lot of time. When there’s not much time (or I’m feeling particularly lazy), this is a simple recipe which is not only healthy, tasty, filling and makes you feel great, but it’s also cheap and easy to vary daily. “I just can’t be bothered to cook anything so I’m just gonna chuck it all in raw” On my day off or on a free evening, I make a small mountain of staple grain (my favourite is a mix of wild rice and puy lentils). This can then be kept in a large sealed Tupperware / container in the fridge for use later in the week. N.B//With rice or quinoa I sometimes add rice mirin or rice vinegar for a little extra flavour. Each morning before work (or the night before if you’re very organised), I chop up a variety of veg raw and chuck it in with the grain. The marinade combination I generally go for always includes soy sauce and chilli. If I’m feeling disorganised, I’ll drizzle some soy sauce, sriracha (and maybe a squeeze of lime) over my concoction; with a little more time at the start of the week, I’ll fancy up a marinade to last several days, and keep it in a container to pour over as and when I need it.  Below are the rough costs for the food made in the photos – obviously you can do it as cheap or as expensive as you like by using less/more/different vegetables. Rough costs for ~4 meals (not including the sauce marinade):   Lemon & Jinja White Basmati Rice (240g): £0.96 12 vine Tomatoes: £0.80 - £1.10 2 x spring onions: £0.15 - £0.25 2 x red/yellow/orange pepper: £0.80 - £1.10 2 x garlic cloves: ~£0.02 - £0.04p Small lettuce: ~£0.65 Total: £3.83 - £4.20 Average for 1 meal: ~£0.96 - £1.05 --> Examples of other fresh veg that work well in this recipe: grated carrot, button mushrooms (washed well), spring cabbage, mange tout. --> Examples of other grains that work well: quinoa, wild/brown rice, puy/green/brown lentils, bulgar wheat -->You can also add some crushed nuts to add a bit of crunch (cashews, brazil nuts, almonds, pistachios or peanuts usually work the best.) Serves: 4 meals Ingredients: 240g Lemon & Jinja basmati rice (dry weight) 12 cherry vine tomatoes 2 spring onions 1 red pepper Handful of lettuce (as much as you fancy) [garlic, chilli and ginger is in the marinade, but these can obviously be mixed into the rice] Salt and pepper to taste   Suggested marinade: 1 tbsp sesame oil (groundnut oil, or other) [For a thicker sauce use ½ tbsp. sesame oil ½ tbsp. tahini] 4 tbsp soy sauce (or tamari for a gluten free option) 20g ginger root 1 small chilli (chopped), or 1 tsp chopped chillies 2 garlic cloves ½ lime, juice Method: 1. Cook the grain as to instructed on the packet (we used rice in the recipe) 2. Drain and cool down immediately after cooking by rinsing with cold water 3. Add rice vinegar/rice mirin if required [place grain in the fridge if not needed immediately] 4. When required, chop up the veg, and mix into the grain with a marinade 5. Add salt and/or pepper to taste Enjoy, Lots of love, Lemon & Jinja x
Buckwheat granola (written April 5, 2019)

News

Buckwheat granola (written April 5, 2019)

by Jesse Dugdale on Nov 05, 2024
'What are buckwheat groats?' 'How do I cook with buckwheat?' 'Is it gluten free?' There are some bulk grains you can identify very easily - rice, quinoa, couscous - and then there are the weird ones, like 'raw buckwheat groats' - what are they?! Buckwheat groats are the hulled seeds of the buckwheat plant. But it's not even related to wheat at all... It's gluten free! Packed with various vitamins, antioxidants & protein. Good for you hey? Imagine toasting the buckwheat like you would nuts, in a pan or on a baking sheet in the oven. And that's it. Simple! The groats are ready when they have darkened in colour and that's when they become more fragrant. Good for: - salads - soups - cereals - pasta [adds a good crunch] - granola [what we are doing today!] So let's get going... Buckwheat granola   Ingredients:   - 200g raw buckwheat groats - 160g mixed nuts - 280g mixed seeds - 65g mixed dried fruit - 1 tsp ground ginger - 1 tbsp lemon juice - 125ml maple syrup - 2 tbsp coconut oil We have added a lot of ingredients into this, but this is so easy to change up. You can add more nuts and less seeds or vice versa. I was initially sceptical about the ginger as I would have thought cinnamon would have been better, but it worked out so well. I guess the maple syrup adds a much sweeter taste to it.  Approximate cost: £5.00 Method: 1. [We ignored this step, but you don't have to!] Put the buckwheat, nuts, lemon juice and pumpkin seeds in a bowl and cover overnight. Drain and rinse thoroughly once done. 2. Preheat oven to 150C. 3. Heat the coconut oil until it melts. Add the buckwheat mixture with all the other ingredients in a large bowl (or mix it straight into a baking tray to save on washing up!) 4. Toss it altogether and lay onto one or two baking trays. 5. Bake the mixture whilst stirring occasionally, for around 45 minutes (or until golden brown)6. Leave to cool and then break into clusters. Store in an airtight container. If you leave it sitting for at least a few hours it is more likely to stick together. Et voila, you are now a professional chef having cooked with the weird and wonderful buckwheat groats AND you have some tasty granola to show off.Say goodbye to always cooking with quinoa and cous cous and try something new! Love, Lemon & Jinja X
Aunty Vin's breakfast granola (written March 29, 2019)

News

Aunty Vin's breakfast granola (written March 29, 2019)

by Jesse Dugdale on Nov 05, 2024
The famous granola recipe stemmed from somewhere.. and this was it's roots!
3-step energy balls (written March 22, 2019)

News

3-step energy balls (written March 22, 2019)

by Jesse Dugdale on Nov 05, 2024
Foodie Friday has begun! Every week, we will release a recipe that focuses on ingredients found in Lemon & Jinja. It will ease your shopping with us, as you know what you need to get and can focus more on the eating side... Far more important!So, drum roll please! First up we have... 3-step energy balls  There are SO MANY different ingredients that could go in this recipe, but instead we thought we would stick with the well-known Deliciously Ella recipe. Her recipe requires only 6 ingredients! Simple. Why do we love these? Well, first of all, they are very versatile. If you don't have an ingredient, it is easy to substitute. If you don't have almonds or almond butter, why not use another type of nut? Add in some prunes or figs to change the taste slightly. Some people like to roll crushed nuts or desiccated coconut on the outside of the balls for added flavour. Cocoa powder for cacao powder... The ideas are endless! Energy balls are a great thing to carry around with you - this recipe made me 28 balls - eat one or two a day and it could last up to a month! They keep for such a long time, just remember to keep them refrigerated. The cacao powder and dates cater for those with a sweet tooth - who knew healthy could taste so good...? Ingredients: - 200g almonds [£2.99] - 400g pitted dates (it says Medjool but we used the ones from the shop that are already pitted!) [£2.68] - 44g cacao powder [44p] - 2 tbsp almond butter [approx. 66p] - 30g chia seeds [45p] - 1 tbsp coconut oil [approx. 28.5p] - 2 tbsp water [FREE] Approximate cost: £7.50 - bear in mind this lasts a month! So 25p a day! Method: 1. Put the almonds in your food processor to get them nicely crushed (we kept it going until they were about 0.5cm chunks - easy to roll up into balls) 2. Add all other ingredients into the food processor and whiz it altogether. It is ready when the contents are sticky.* 3. Roll the mixture into balls (1-1.5in is best) and pop in the freezer for 30 minutes to harden.*If not sticky enough, add a TINY bit more water (don't add more coconut oil as it will make it too sticky). But don't be fooled - the mixture won't look that sticky but it will be able to roll up into balls.  So, we now challenge you to make these. Upload your efforts and whether you added anything different into the mixture! Love, Lemon & Jinja X https://deliciouslyella.com/